Timetables
Viewing your timetable
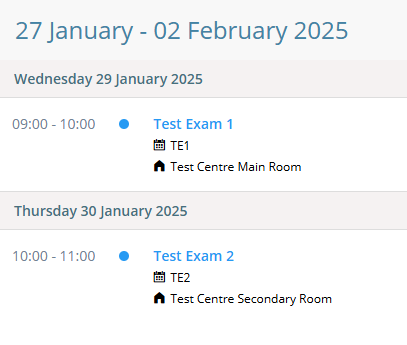
The Timetables screen lets you view your test bookings in a Calendar format.
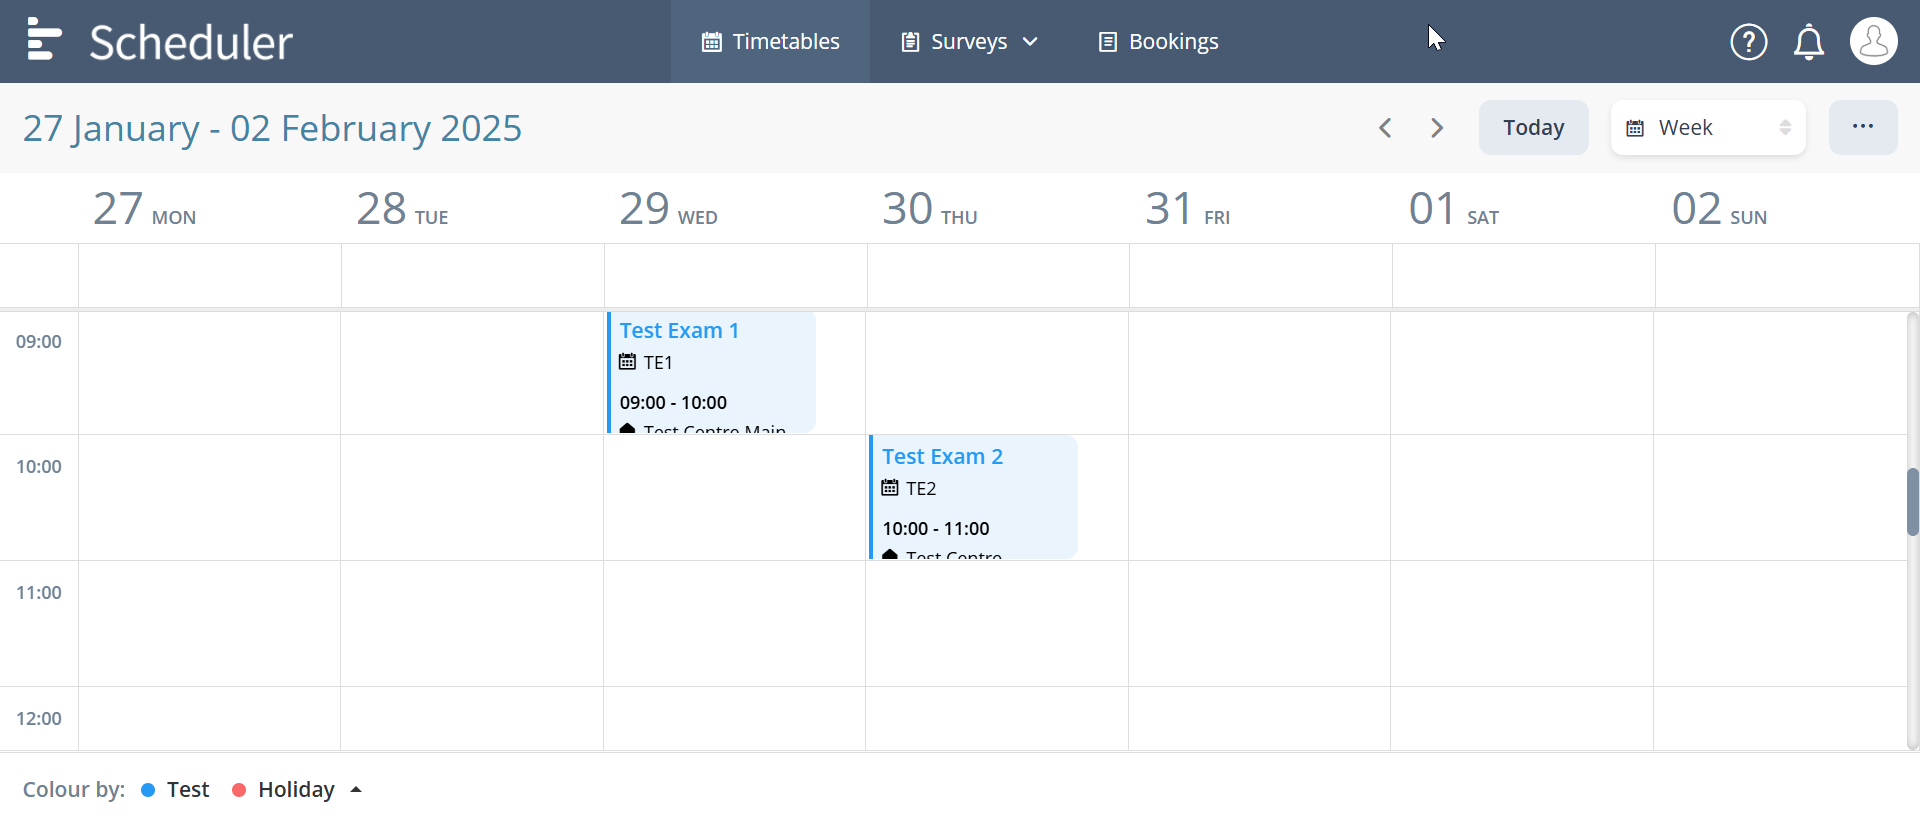
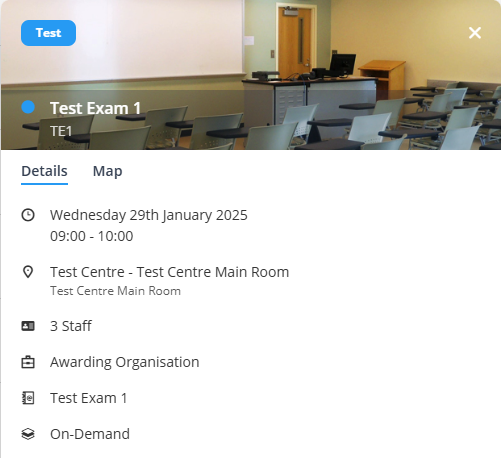
Select a test booking card to view more information about the test booking, including a Map of the test centre’s location (if applicable).
Use the Week drop-down menu to choose between displaying the timetable data by Day, Week, Work week, Fortnight, or Month.
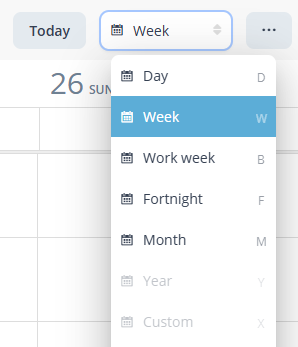
Select List from the drop-down menu to view your timetable in list format.
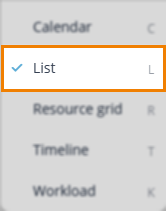
In List view, you can choose between Day, Week, Work week, Fortnight, Month, Year or a Custom display, defined in Timetable preferences.
Downloading your timetable
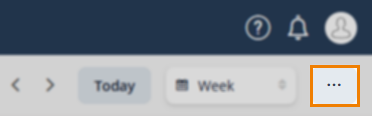
To download your timetable, select the Options icon.
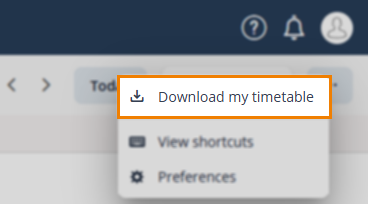
Select Download my timetable.
Choose between downloading your timetable in either a List or Grid (calendar) layout.
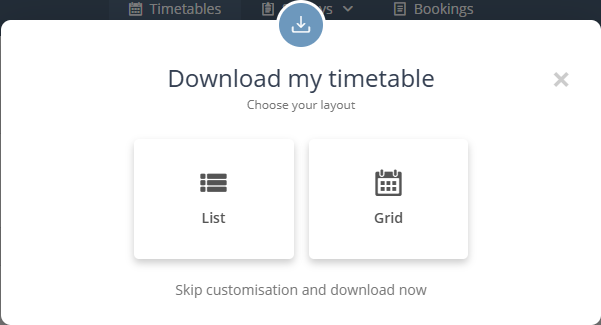
If you have already defined your Timetable preferences, you can choose to Skip customisation and download now.

Choose between PDF, Excel, or HTML document format.
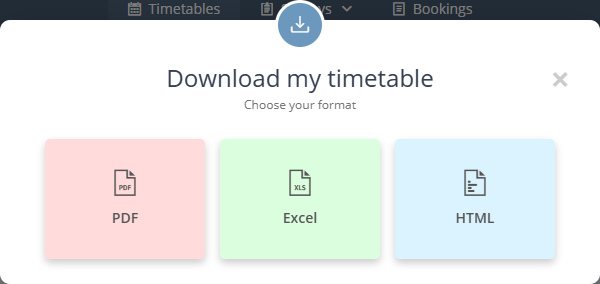
Note: Grid timetables cannot be downloaded in Excel format.
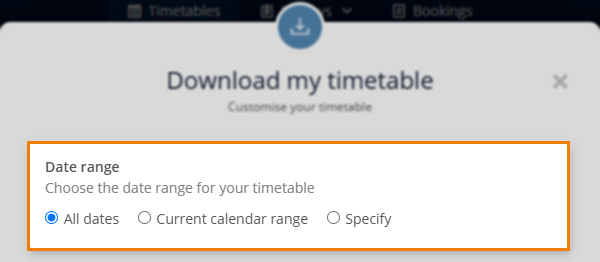
Choose between All dates, Current calendar range or Specify a custom date range for your timetable.
If downloading in List layout, choose whether to Include holidays? and Group tests? using the Yes/No toggles.
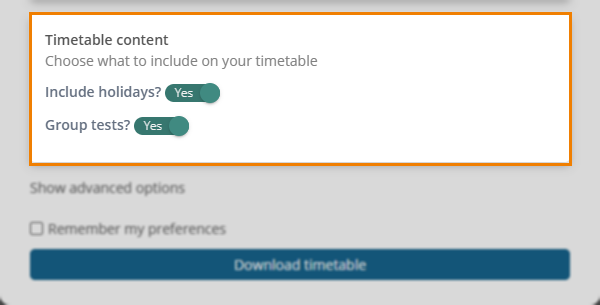
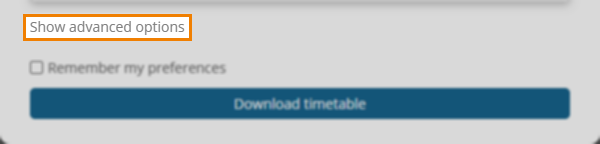
Select Show advanced options to further customise timetable, for example choosing to include test centre details.
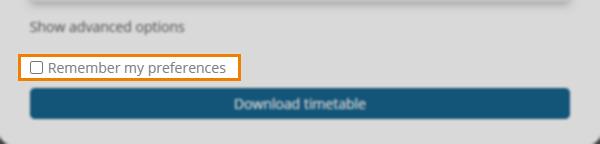
Select the Remember my preferences checkbox, if you want to retain your chosen preferences.
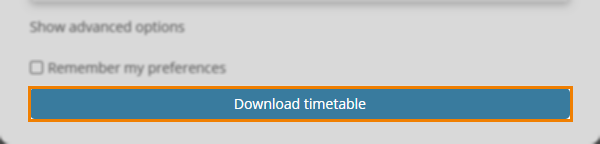
Select Download timetable.
In the file explorer window that opens, name your file and choose a save destination.
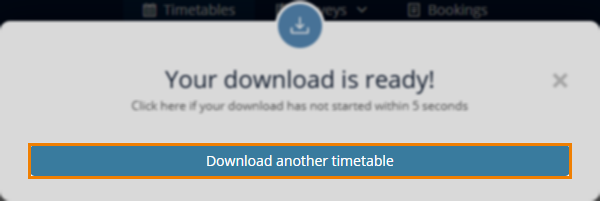
If something goes wrong with your download, select Click here if your download has not started within 5 seconds on the Your download is ready! dialog.

Select Download another timetable to repeat the process and download a separate timetable.
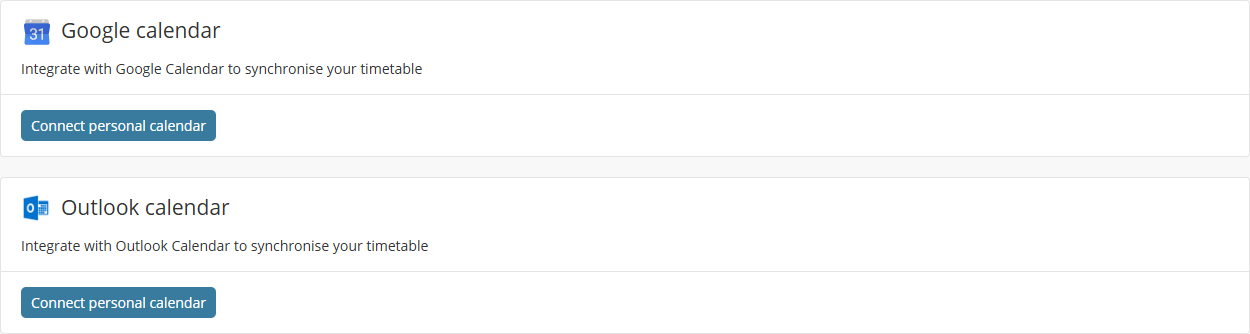
Integrating with calendar applications
Timetables can be synchronised with a Google or Outlook calendar.
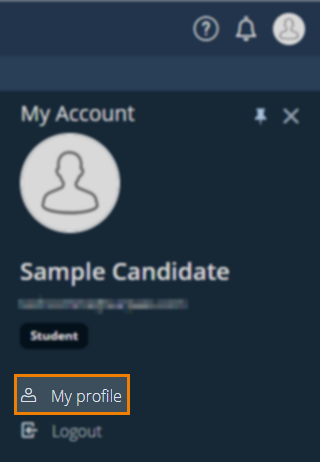
To do this, select the user icon in the top-right corner of any screen in Scheduler to open the My Account menu.

From this menu, you can access your profile and amend the related settings, or log out of Scheduler. For more information on profile settings, read ‘Your account menu’ in the Scheduler basics article.
Select My profile.
Navigate to the Integrations tab.

Select a corresponding Connect personal calendar button to synchronise your timetable with a Google or Outlook calendar.