Scheduler basics
Contents
What to expect from Scheduler
Your Scheduler account has been set up for you on behalf of your awarding organisation. You should expect to receive an initial welcome email from Scheduler detailing your account creation and a link to change your password.
You must use this link to create a password within 24 hours of receiving the email. Once expired, contact support via support.schedulemytests.com to request a new link.
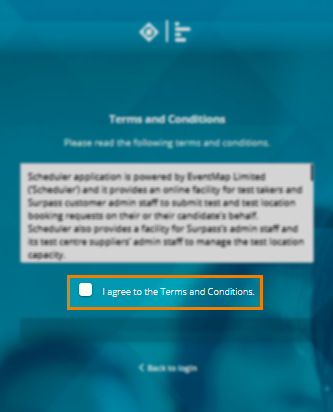
The first time you log in, you must agree to the terms and conditions and then select Confirm.
For every test you are eligible for, you will receive an email inviting you to book your place. You may also be informed about being booked directly onto a test.
Please check the Open date in your email for confirmation of the date and time you are able to book from.
Getting started with Scheduler
The Scheduler documentation on this website details how you can navigate through Scheduler and manage the overall booking process, please ensure you read all the information and instructions provided prior to making a booking.
The first screen that opens in Scheduler is Bookings > My Bookings, which displays information about any upcoming or previous test bookings.

On your first visit to Scheduler, if you have not been pre-allocated a booking, you can select a link to the Available Tests screen.
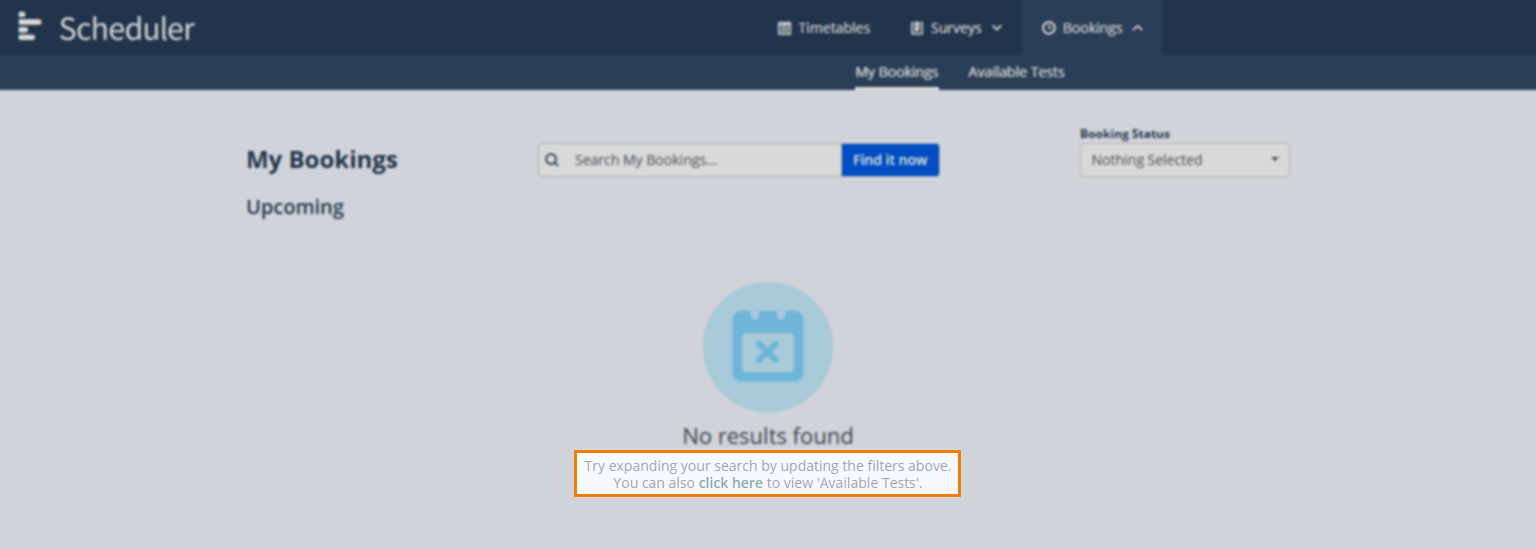
Here you can view and book any tests available to you once the specified booking window has opened. For more information, read the Booking a test article.
Your account menu
To open the My Account menu, select the user icon in the top-right corner of any screen in Scheduler.
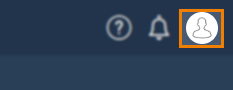
From this menu, you can access your profile and amend the related settings, or log out of Scheduler.
Accessing your profile
Select My profile to configure your profile settings.

Account settings include adding a secondary email address for notifications to be sent to, changing your password, changing your preferred user interface language and time zone, and setting up two-factor authentication.
If you are an international user, you must update your time zone to reflect your location.
You can also configure Notifications and set up standard Integrations.
Changing your password
In the Password section of the Account tab, enter your current password – if you are changing your password for the first time, you can find it in your welcome email – in the Old password field.
Create a new password by entering it in the New password and Confirm password fields and then selecting Confirm.
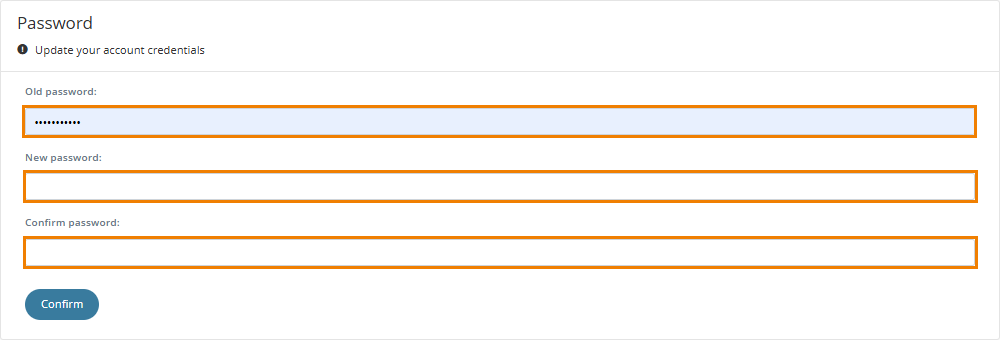
Your password must adhere to the following rules:
- A minimum of 6 characters
- Use upper and lower case characters
- Requires an uppercase character
- Use 1 or more numbers
- Use 1 or more special character
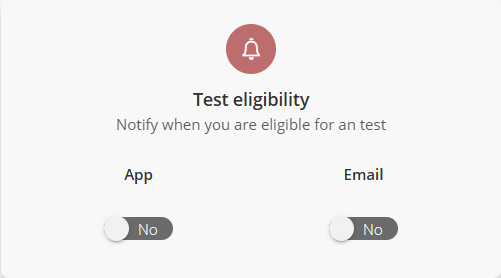
Setting up notifications
In the Notifications tab, use the App and Email toggles to choose whether you want to receive in-app or email notifications when you are eligible for a test.
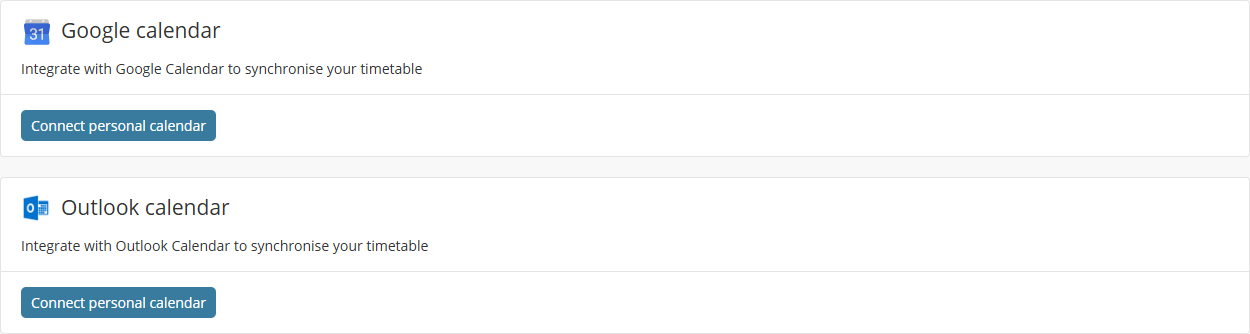
Integrating with calendar applications
In the Integrations tab, select a corresponding Connect personal calendar button to synchronise your timetable (read the Using the Scheduler timetable article for more information on Timetables) with a Google or Outlook calendar.
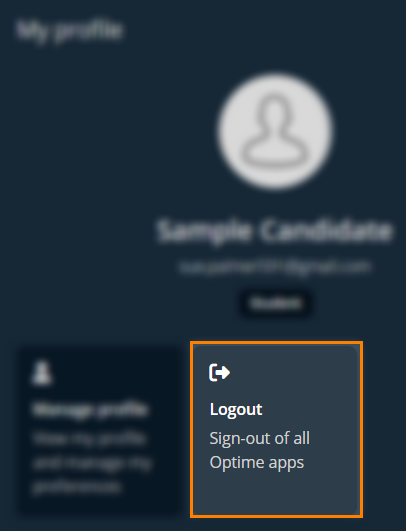
Logging out of Scheduler
To log out of Scheduler, select Logout.